WPF鼠标、键盘、拖拽事件、用行为封装事件 本文主要介绍了WPF中常用的鼠标事件、键盘事件以及注意事项,同时使用一个案例讲解了拓展事件。除此之外,本文还讲述如何用行为(Behavior)来封装事件。
Windows中的事件通过消息机制来完成,也就是Windows系统来捕获用户输入(如鼠标点击、键盘输入),然后Windows发送一个消息给应用程序,应用程序进行具体的处理。在Winform中,窗体中每个控件都是有独立的句柄,也就是每个控件都可以收到Windows系统传来的消息,但是在WPF中,窗体中的控件是没有句柄的,所以只能是窗体进行消息捕获,WPF框架经过处理再传递给相应的控件。这是WPF和Winform在事件处理上的不同之处。
鼠标事件 常用的鼠标事件包括:
MouseEnter、MouseLeave、MouseDown、MouseUp、MouseMove、MouseLeftButtonDown、MouseLeftButtonUp、MouseRightButtonDown、MouseRightButtonUp、MouseDoubleClick
值得注意的是诸如Button一类的控件,具有Click事件,它其实是仍然是调用了MouseLeftButtonDown等底层事件,然后进行截断,也就是说Button控件只能调用Click事件而不能调用MouseLeftButtonDown事件,因为在Click事件中,调用了MouseLeftButtonDown事件,而且应用了e.Handled = true;阻止事件向下传下去。如果要在Click事件之前进行事件处理,则可以使用PreviewMouseLeftButtonDown事件。
键盘输入事件 用的最多的键盘输入事件有:
KeyDown、KeyUp、TextInput
如果要对某个键进行处理则可以
1
2
3
4
5
6
7
8
private void TextBox_KeyDown (object sender, KeyEventArgs e{ if (e.Key == Key.Enter) { } }
注意TextBox是不能捕获到TextInput事件的,只能捕获到KeyDown、TextChanged等事件,但也可以捕获到PreviewTextInput事件,事件捕获顺序是KeyDown-PreviewTextInput-TextChanged。
案例:做一个搜索栏,输入文字后回车搜索 实现方式1:可以在TextBox上增加KeyDown事件,捕获Key.Enter键。
实现方式2:增加一个Button按钮,设置<Button Content="搜索" IsDefault="True"/>
拖拽事件 拖拽事件包括:Drop、DragLeave、DragOver、DragEnter事件
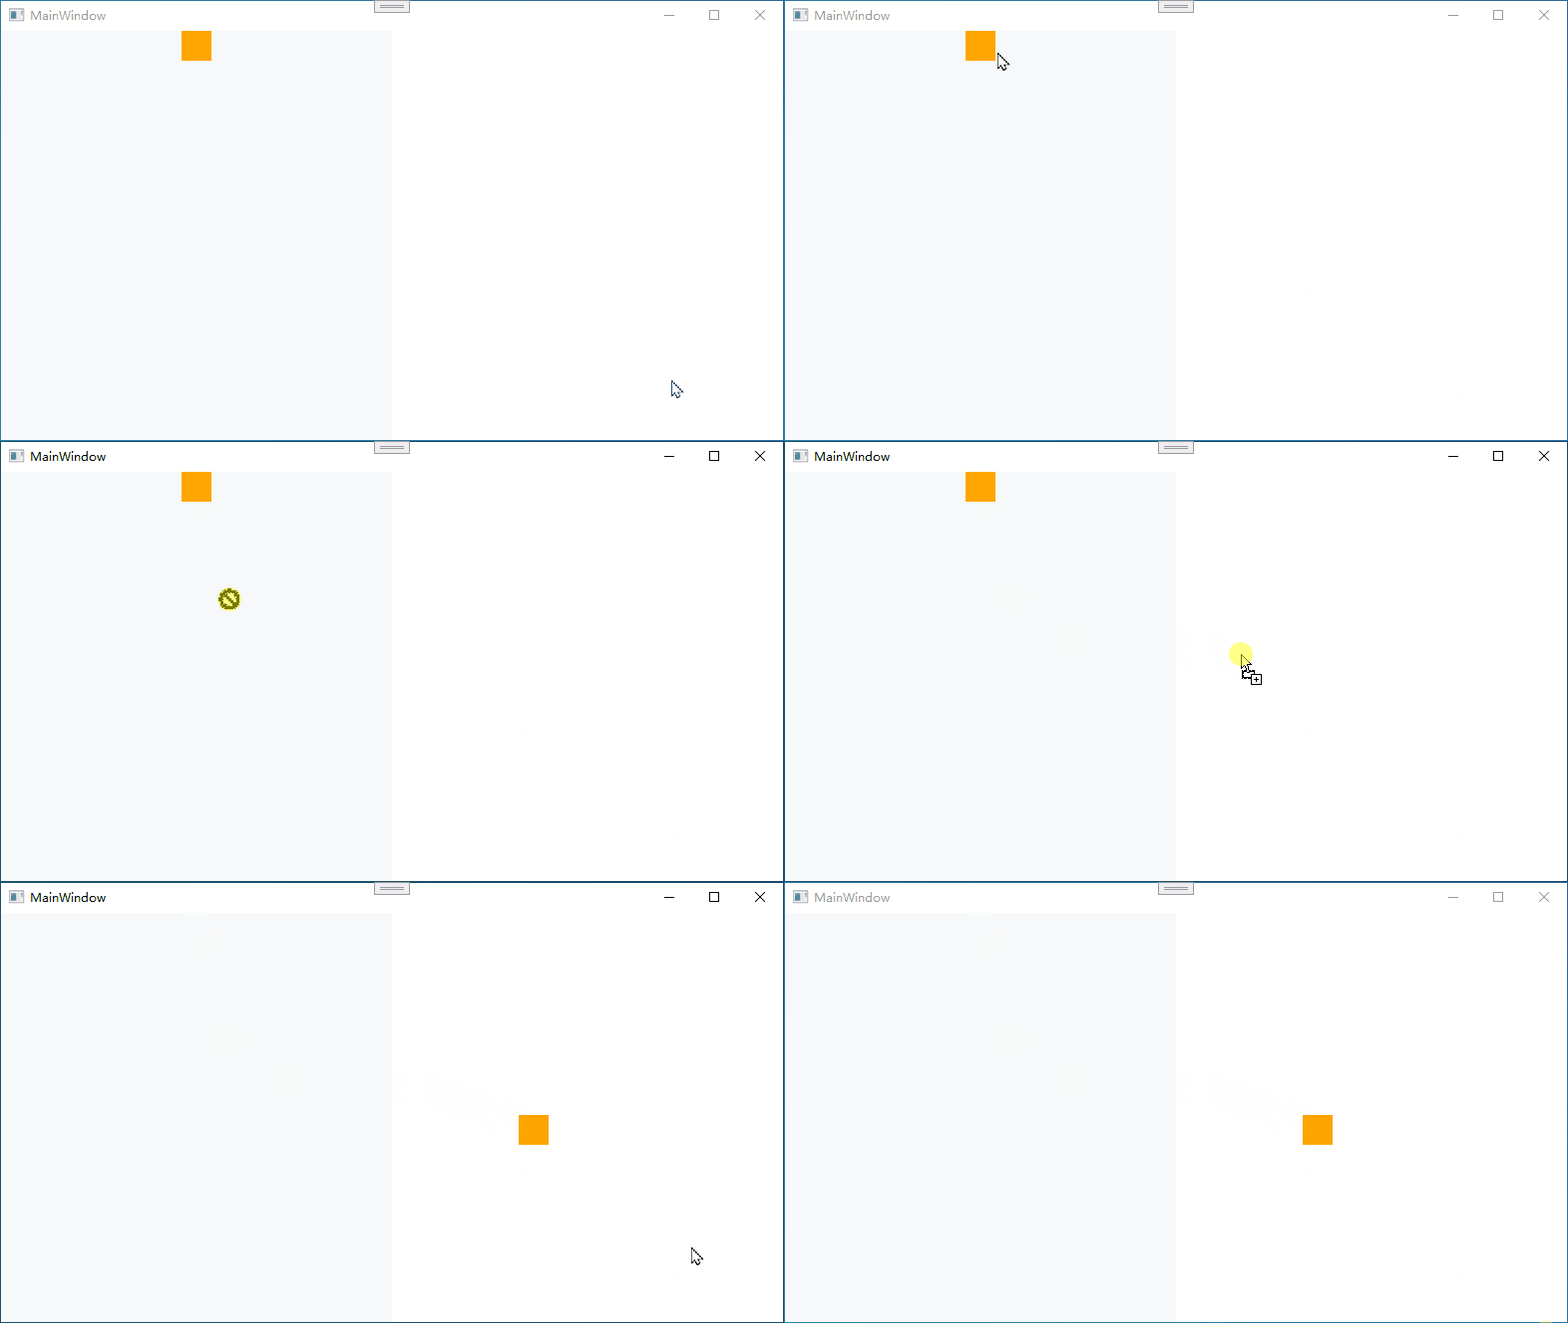
案例,将某个控件拖拽到另一个区域
1 2 3 4 5 6 7 8 9 10 11 12 13 14 <Grid > <Grid.ColumnDefinitions > <ColumnDefinition /> <ColumnDefinition /> </Grid.ColumnDefinitions > <StackPanel x:Name ="panel" Background ="#F7F9FA" > <Border Background ="Orange" Height ="30" Width ="30" MouseLeftButtonDown ="Border_MouseLeftButtonDown" /> </StackPanel > <Canvas x:Name ="canvas" Grid.Column ="1" Drop ="Canvas_Drop" AllowDrop ="True" Background ="Transparent" > </Canvas > </Grid >
1
2
3
4
5
6
7
8
9
10
11
12
13
14
15
16
17
18
19
private void Canvas_Drop (object sender, DragEventArgs e{ var data = e.Data.GetData(typeof (Border)); panel.Children.Remove(data as UIElement); canvas.Children.Add(data as UIElement); var point = e.GetPosition((Canvas)sender); Canvas.SetLeft(data as UIElement, point.X); Canvas.SetTop(data as UIElement, point.Y); } private void Border_MouseLeftButtonDown (object sender, MouseButtonEventArgs e{ Border border = sender as Border; DragDrop.DoDragDrop(border, border, DragDropEffects.Copy); }
用行为封装事件 通过一个案例来讲解
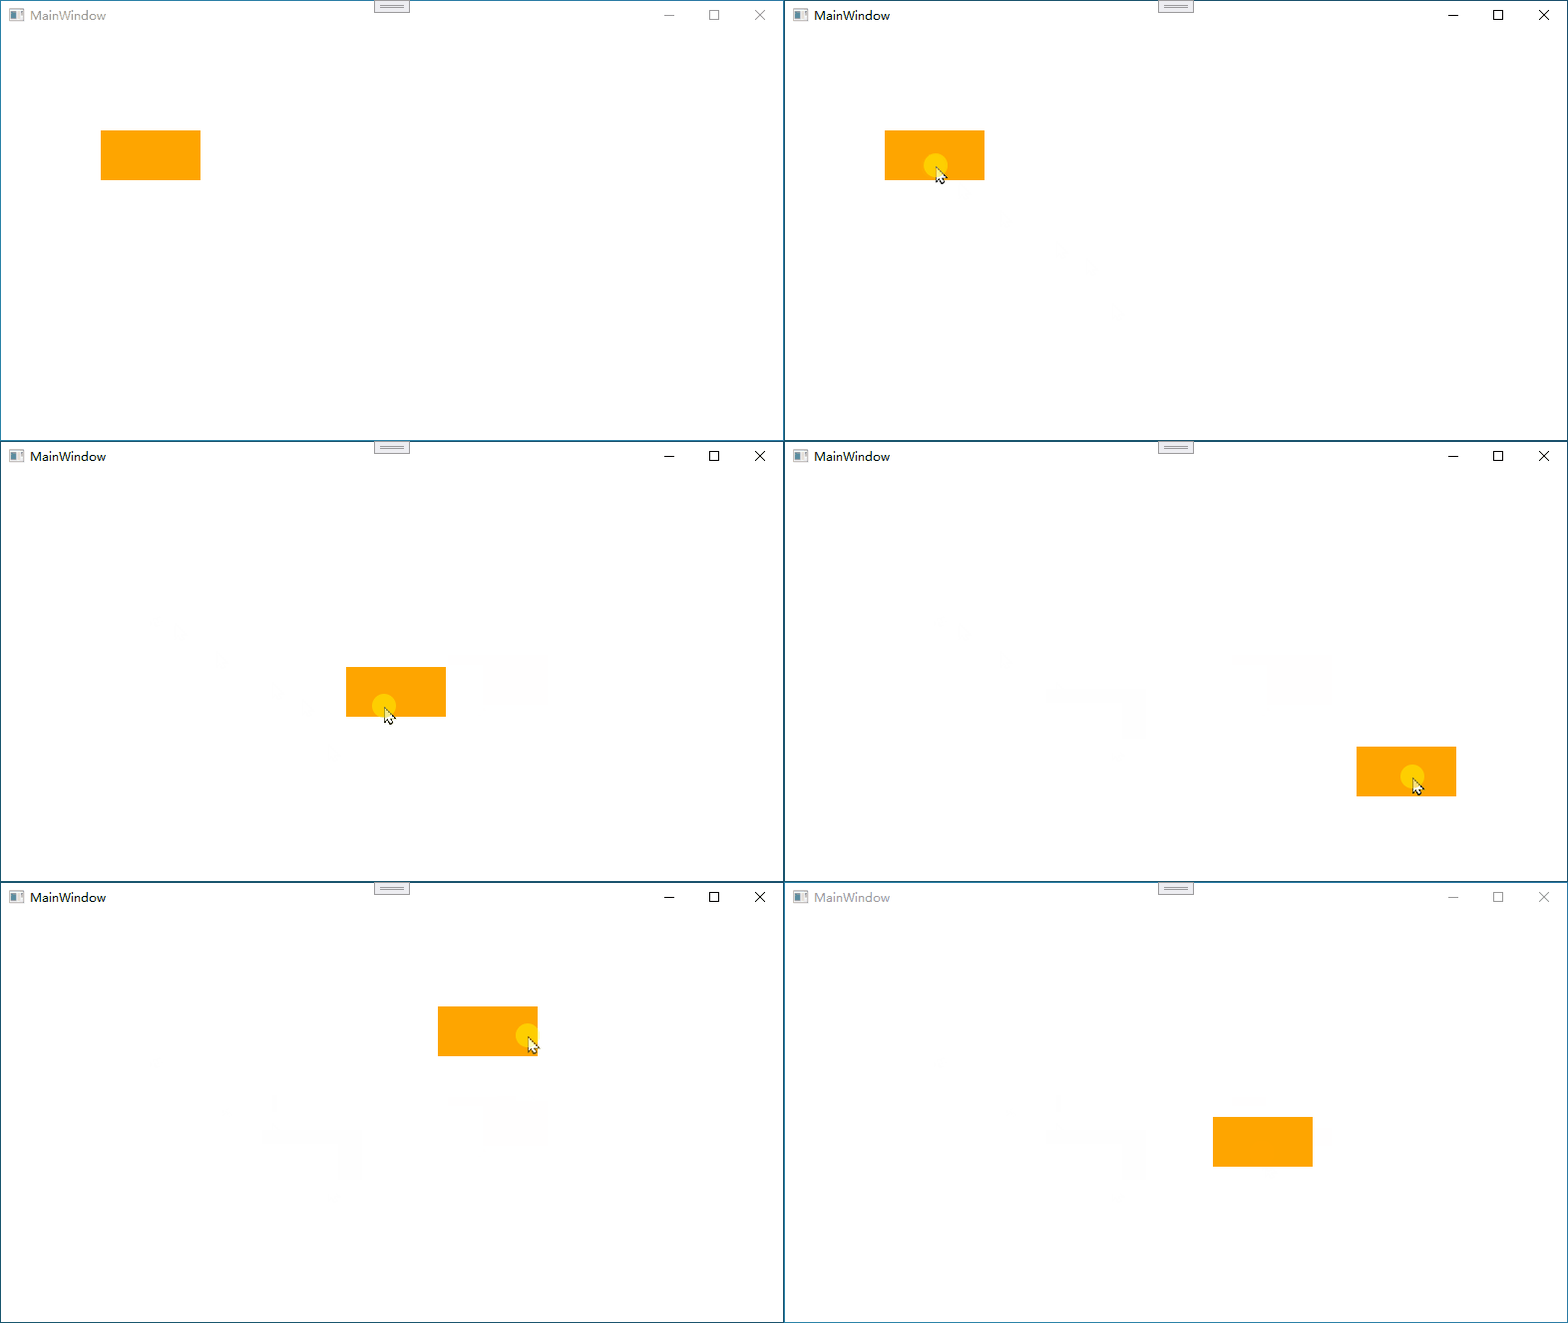
案例,实现某个控件的随意拖动
用事件来实现 主要是通过MouseLeftButtonDown、MouseLeftButtonUp和MouseMove三个事件来实现
1 2 3 4 5 6 7 <Canvas > <Border Background ="Orange" Width ="100" Height ="50" Canvas.Left ="100" Canvas.Top ="100" MouseLeftButtonDown ="Border_MouseLeftButtonDown" MouseLeftButtonUp ="Border_MouseLeftButtonUp" MouseMove ="Border_MouseMove" /> </Canvas >
1
2
3
4
5
6
7
8
9
10
11
12
13
14
15
16
17
18
19
20
21
22
23
24
25
26
27
28
29
30
31
32
33
34
35
36
37
private Canvas _parentCanvas = null ;private bool _isDragging = false ;private Point _mouseCurrentPoint;private void Border_MouseLeftButtonDown (object sender, MouseButtonEventArgs e{ if (_parentCanvas == null ) _parentCanvas = (Canvas)VisualTreeHelper.GetParent(sender as Border); this ._isDragging = true ; this ._mouseCurrentPoint = e.GetPosition(sender as Border); (sender as Border).CaptureMouse(); } private void Border_MouseLeftButtonUp (object sender, MouseButtonEventArgs e{ if (_isDragging) { (sender as Border).ReleaseMouseCapture(); _isDragging = false ; } } private void Border_MouseMove (object sender, MouseEventArgs e{ if (_isDragging) { Point point = e.GetPosition(_parentCanvas); (sender as Border).SetValue(Canvas.TopProperty, point.Y - _mouseCurrentPoint.Y); (sender as Border).SetValue(Canvas.LeftProperty, point.X - _mouseCurrentPoint.X); } }
关键点 :
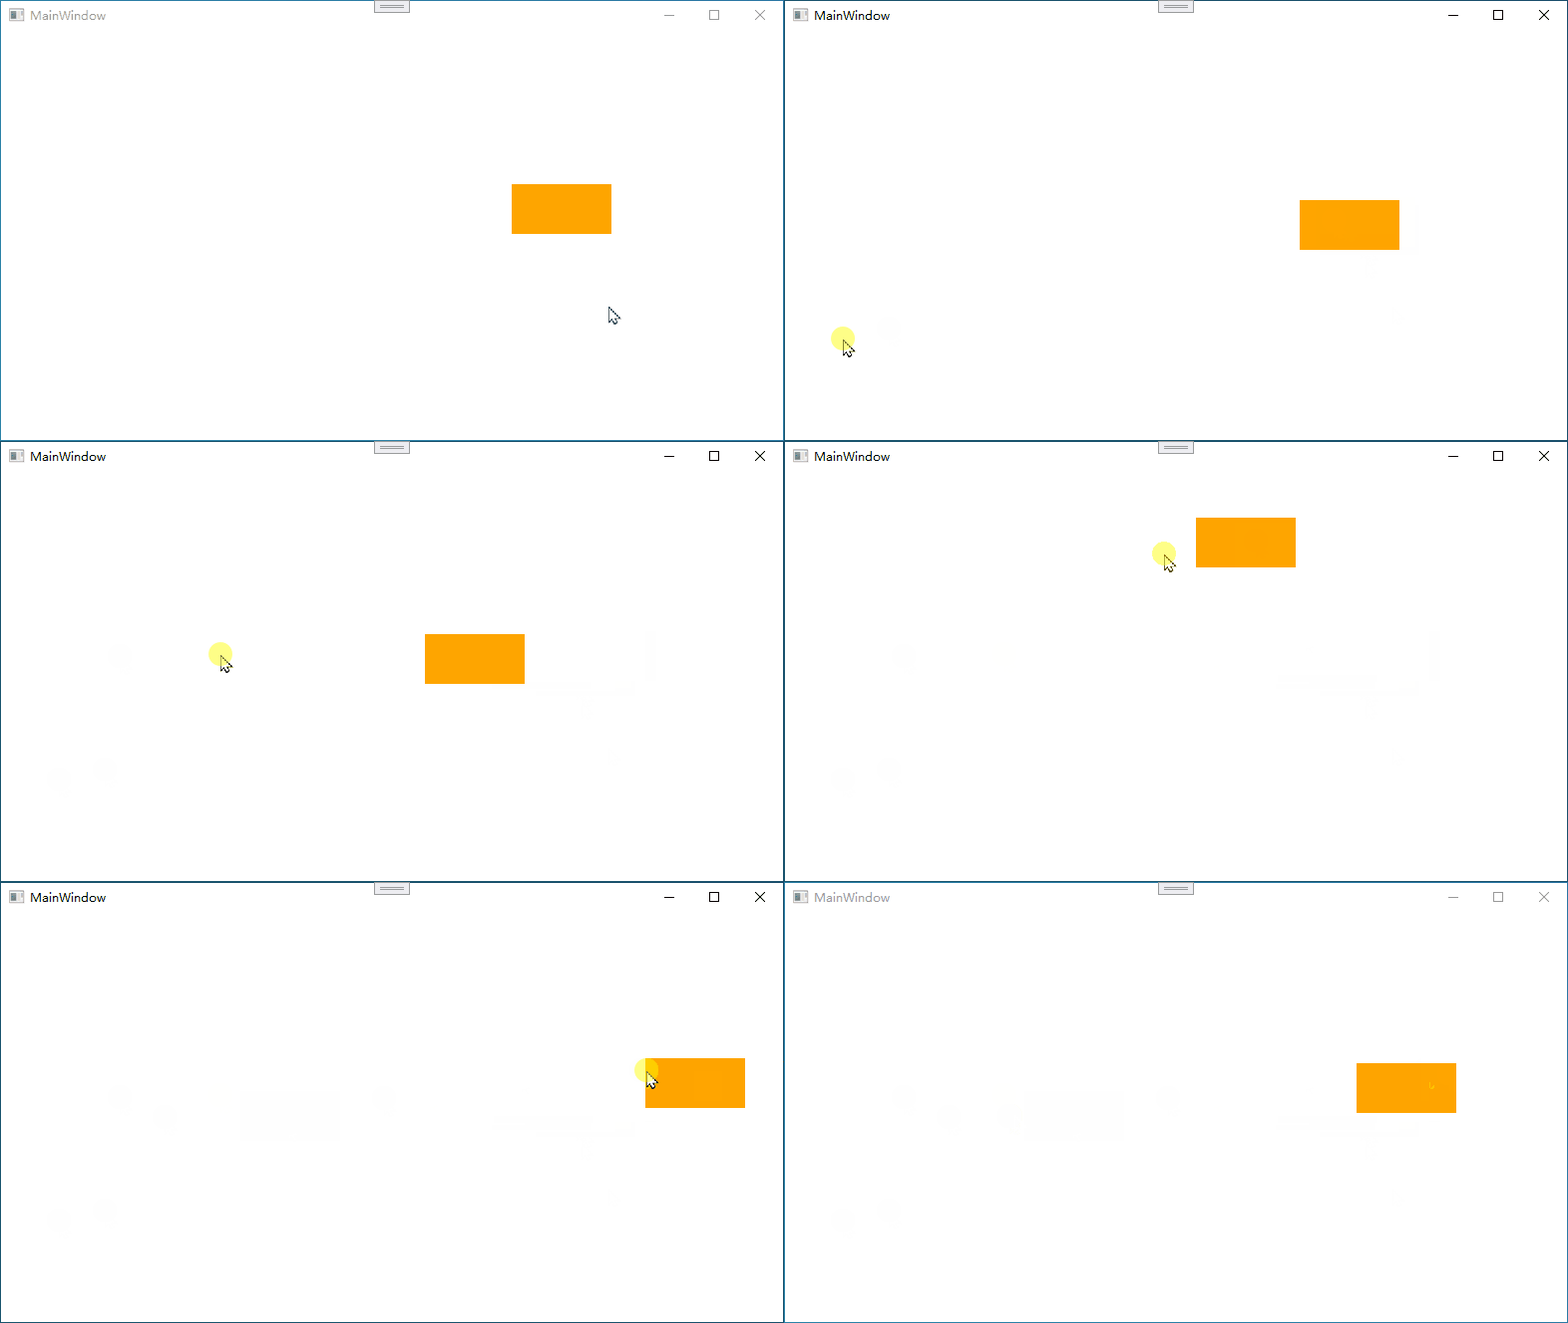
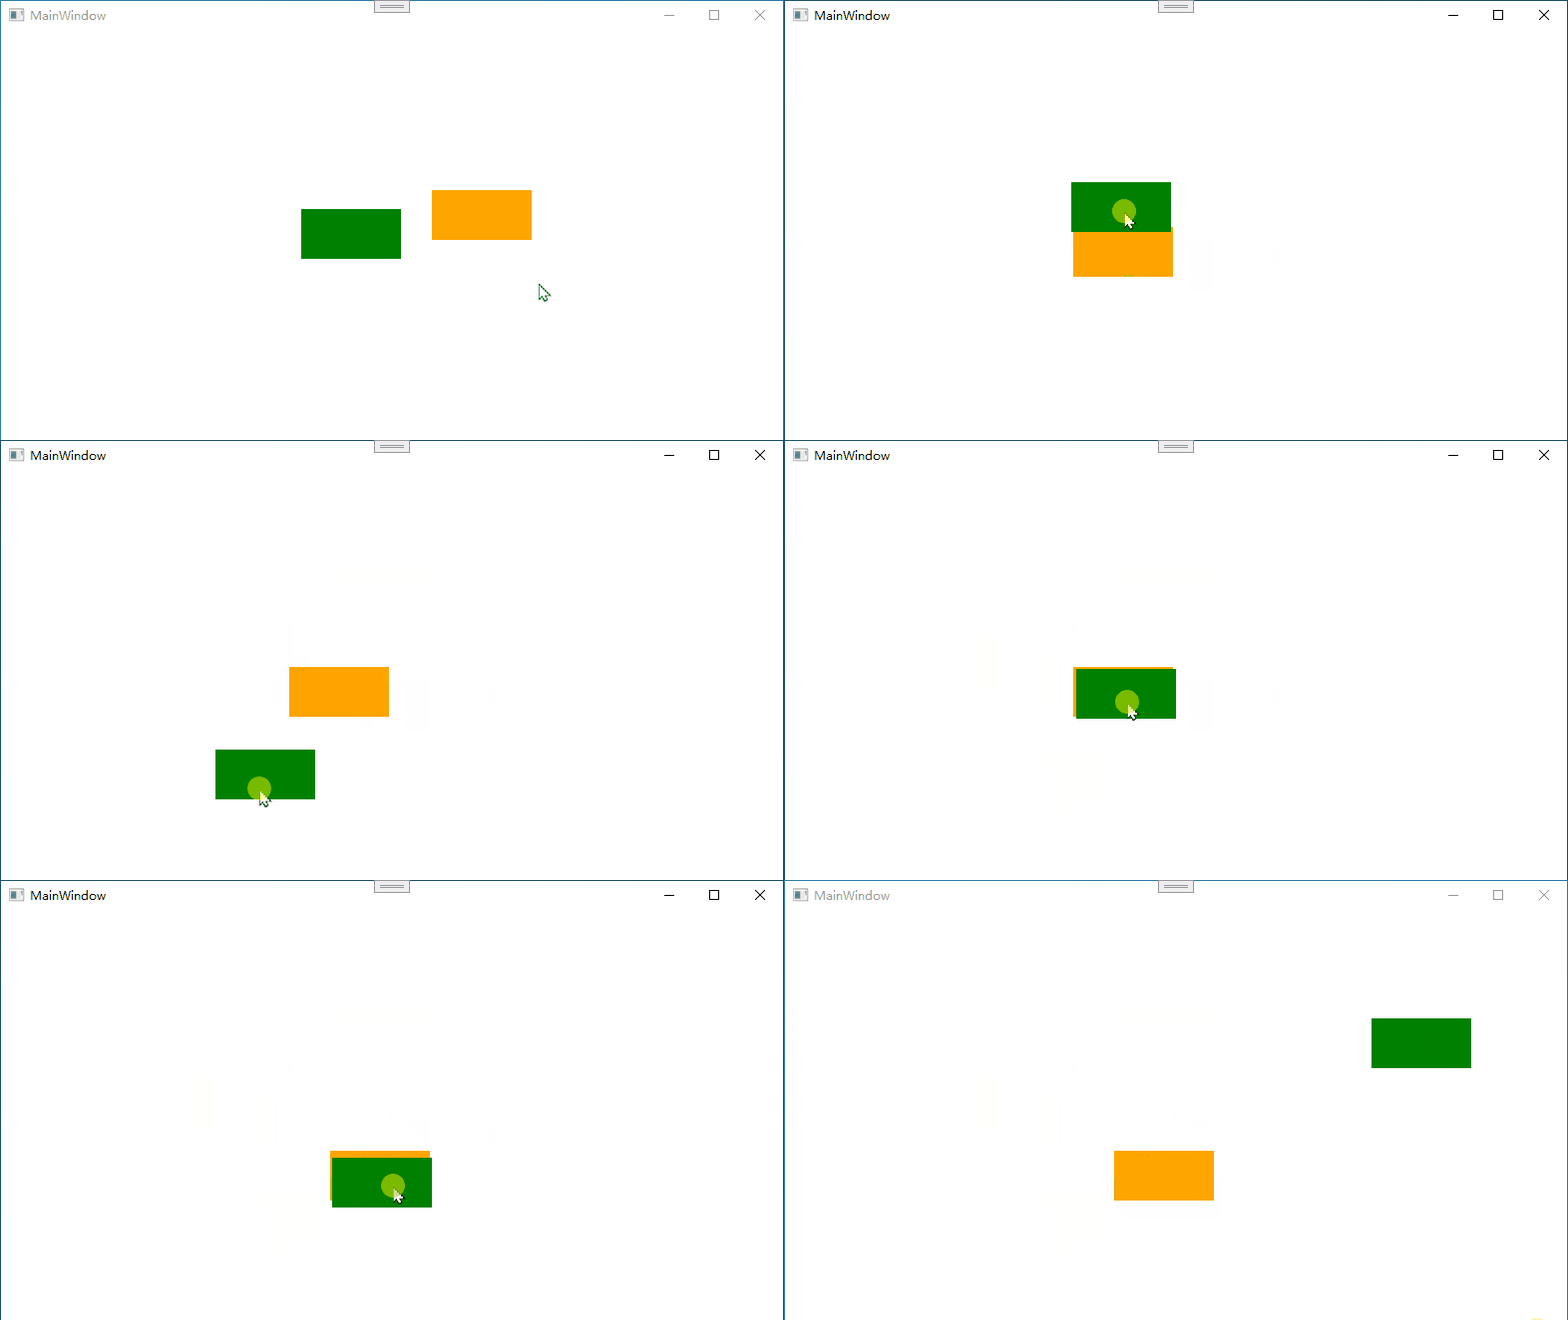
在进行移动的时候,一定要锁定鼠标,也就是不让鼠标可以选中其他元素,如果不锁定会出现以下情况:
情况1:如果鼠标移动过快,会出现图形不能跟随的情况
情况2:如果有多个元素,会出现选中其他元素的情况
下图演示中,鼠标箭头未松开
锁定鼠标有两种方式
1
2
3
4
5
(sender as Border).CaptureMouse() (sender as Border).ReleaseMouseCapture(); System.Windows.Input.Mouse.Capture(sender as Border); System.Windows.Input.Mouse.Capture(null );
用行为来封装 上文中主要是通过MouseLeftButtonDown、MouseLeftButtonUp和MouseMove三个事件来实现,在XAML中需要对这三个事件进行绑定。行为则可以将这三个事件封装在一起。
使用行为需要nuget安装Microsoft.Xaml.Behaviors.Wpf,FrameWork版本安装System.Windows.Interactivity.WPF 新建一个类,继承自Behavior<T>,类中重写OnAttached()和OnDetaching()方法。 OnAttached()表示当挂载到对应的对象上的时候触发
OnDetaching()在对象销毁时触发
1
2
3
4
5
6
7
8
9
10
11
12
13
14
15
16
17
18
19
20
21
22
23
24
25
26
27
28
29
30
31
32
33
34
35
36
37
38
39
40
41
42
43
44
45
46
47
48
49
50
51
52
53
54
55
56
57
58
59
60
public class DragMoveBehavior : Behavior <Border >{ protected override void OnAttached () { base .OnAttached(); this .AssociatedObject.MouseLeftButtonDown += AssociatedObject_MouseLeftButtonDown; this .AssociatedObject.MouseLeftButtonUp += AssociatedObject_MouseLeftButtonUp; this .AssociatedObject.MouseMove += AssociatedObject_MouseMove; } private Canvas _parentCanvas = null ; private bool _isDragging = false ; private Point _mouseCurrentPoint; private void AssociatedObject_MouseMove (object sender, System.Windows.Input.MouseEventArgs e { if (_isDragging) { Point point = e.GetPosition(_parentCanvas); this .AssociatedObject.SetValue(Canvas.TopProperty, point.Y - _mouseCurrentPoint.Y); this .AssociatedObject.SetValue(Canvas.LeftProperty, point.X - _mouseCurrentPoint.X); } } private void AssociatedObject_MouseLeftButtonUp (object sender, System.Windows.Input.MouseButtonEventArgs e { if (_isDragging) { System.Windows.Input.Mouse.Capture(null ); _isDragging = false ; } } private void AssociatedObject_MouseLeftButtonDown (object sender, System.Windows.Input.MouseButtonEventArgs e { this ._isDragging = true ; if (_parentCanvas == null ) _parentCanvas = (Canvas)VisualTreeHelper.GetParent(sender as Border); this ._mouseCurrentPoint = e.GetPosition(sender as Border); System.Windows.Input.Mouse.Capture(this .AssociatedObject); } protected override void OnDetaching () { this .AssociatedObject.MouseLeftButtonDown -= AssociatedObject_MouseLeftButtonDown; this .AssociatedObject.MouseLeftButtonUp -= AssociatedObject_MouseLeftButtonUp; this .AssociatedObject.MouseMove -= AssociatedObject_MouseMove; } }
XAML中代码 1 2 3 4 5 6 7 <Canvas > <Border Background ="Orange" Width ="100" Height ="50" Canvas.Left ="100" Canvas.Top ="100" > <i:Interaction.Behaviors > <local:DragMoveBehavior /> </i:Interaction.Behaviors > </Border > </Canvas >


